By default GitLab & it's Runners require anyuid and root access to work. They also require Helm charts to install. If you're an OpenShift Administrator, these two things are likely not compatible with your way of doing things. You likely also dont want GitLab Runners to run CI Jobs using AnyUID and Root access. The purpose of this guide is to walk you through how to build your own GitLab Runner container that does not use Root or AnyUID. So that it's secure and also communicated properly with GitLab.
Requirements
- One OpenShift Cluster (With Storage)
- One GitLab Installation
- Cluster Admin access to OpenShift Cluster
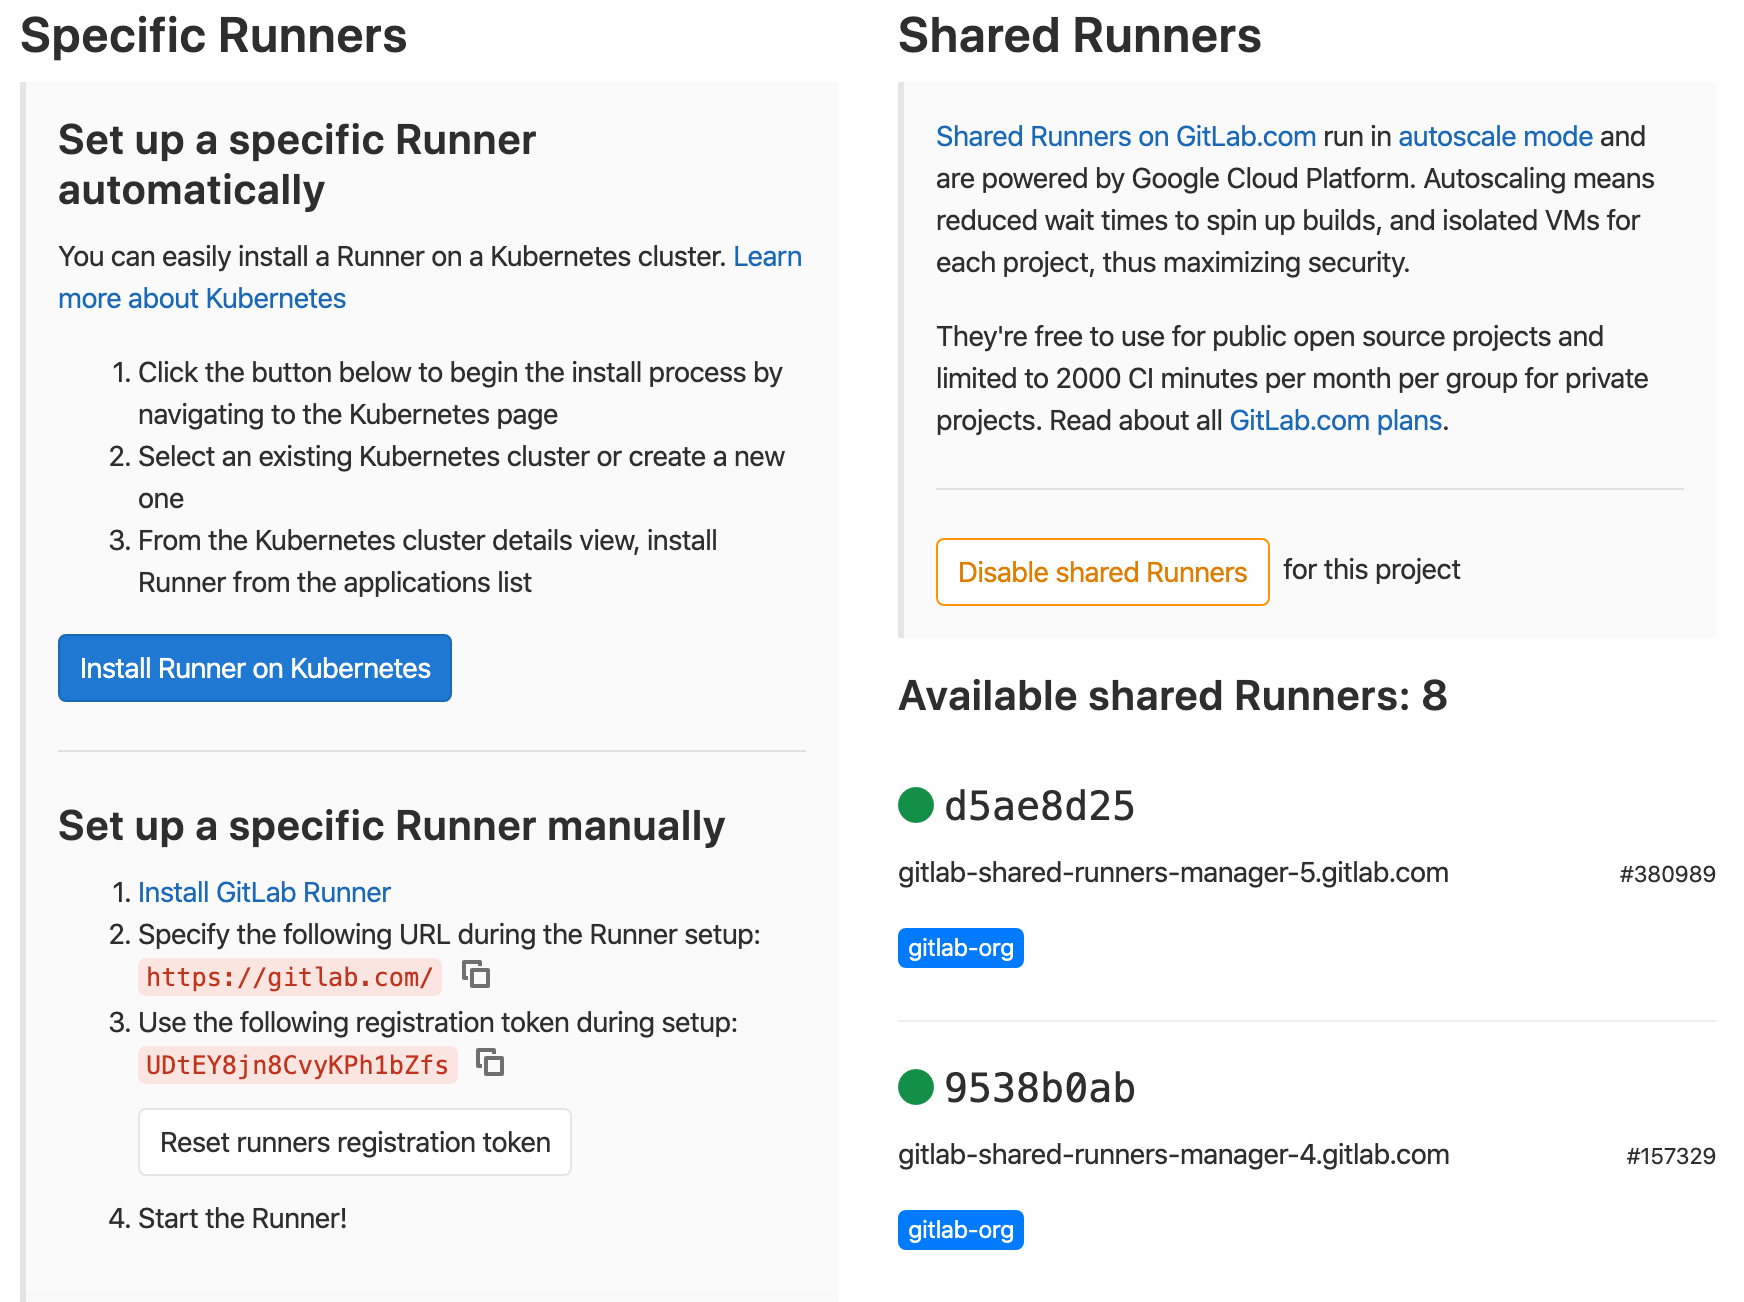
The very first thing you're going to want to do is clone the repo with our OpenShift Resources. Then we'll go through them.
cd <Your_Projects_Directory>
git clone https://gitlab.com/lackastack/article-repos/openshift-gitlab-runner.git
How the runner is assembled.
I've gone through the process of setting up OpenShift Templates to make this process easier. Without it, this guide may be super long. I encourage you to read through the templates and understand how they work and what they do. I'm also not going to deeply dive into the dockerfile, but call out some specific things.
Go ahead and open the Dockerfile. This is the file we're going to be using for building our container. From lines 6 - 27, You'll see that we're inserting the GitLab Certificates for YUM Repos. Then we're going through on line 29-31 and installing the gitlab-runner. Everytime you build this container, it will install the newest gitlab runner into the container.
But it's lines 34-40 I want to point out.
RUN mkdir -p /etc/gitlab-runner/certs && \
    mkdir /.gitlab-runner && \
    mkdir /tmp/gitlab-home && \
    chmod -R g=u /.gitlab-runner && \
    chmod -R g=u /etc/gitlab-runner && \
    chmod -R g=u /tmp/gitlab-home && \
    chmod +x /usr/bin/dumb-init
These lines do the magic. When the gitlab-runner installs via yum, it creates folders itself with permissions for root and the gitlab user. Because OpenShift runs as random uid, we can't/shouldn't use these. So we're going ahead and making new folders and also reassigning those folders to the root group. You see, when OpenShift assigns a random uid to a container, that random uid is always in the root group. So because we use chmod -r g=u this command removes the user permissions to those folders and assigns them to a group.
Now, let's go ahead and open the entrypoint file. Scroll down to lines 19-31, Ignore that certificate stuff.
if [ ! -f "/.gitlab-runner/config.toml" ]; then
  gitlab-runner register --non-interactive \
                        --template-config /scripts/config.toml \
                        --url $GITLAB_URL \
                        --executor kubernetes \
                        --locked=false \
                        --access-level="not_protected" \
                        --docker-privileged=false \
                        --kubernetes-privileged=false
fi
# Start the runner
gitlab-runner run --working-directory=/tmp/gitlab-home --listen-address=0.0.0.0
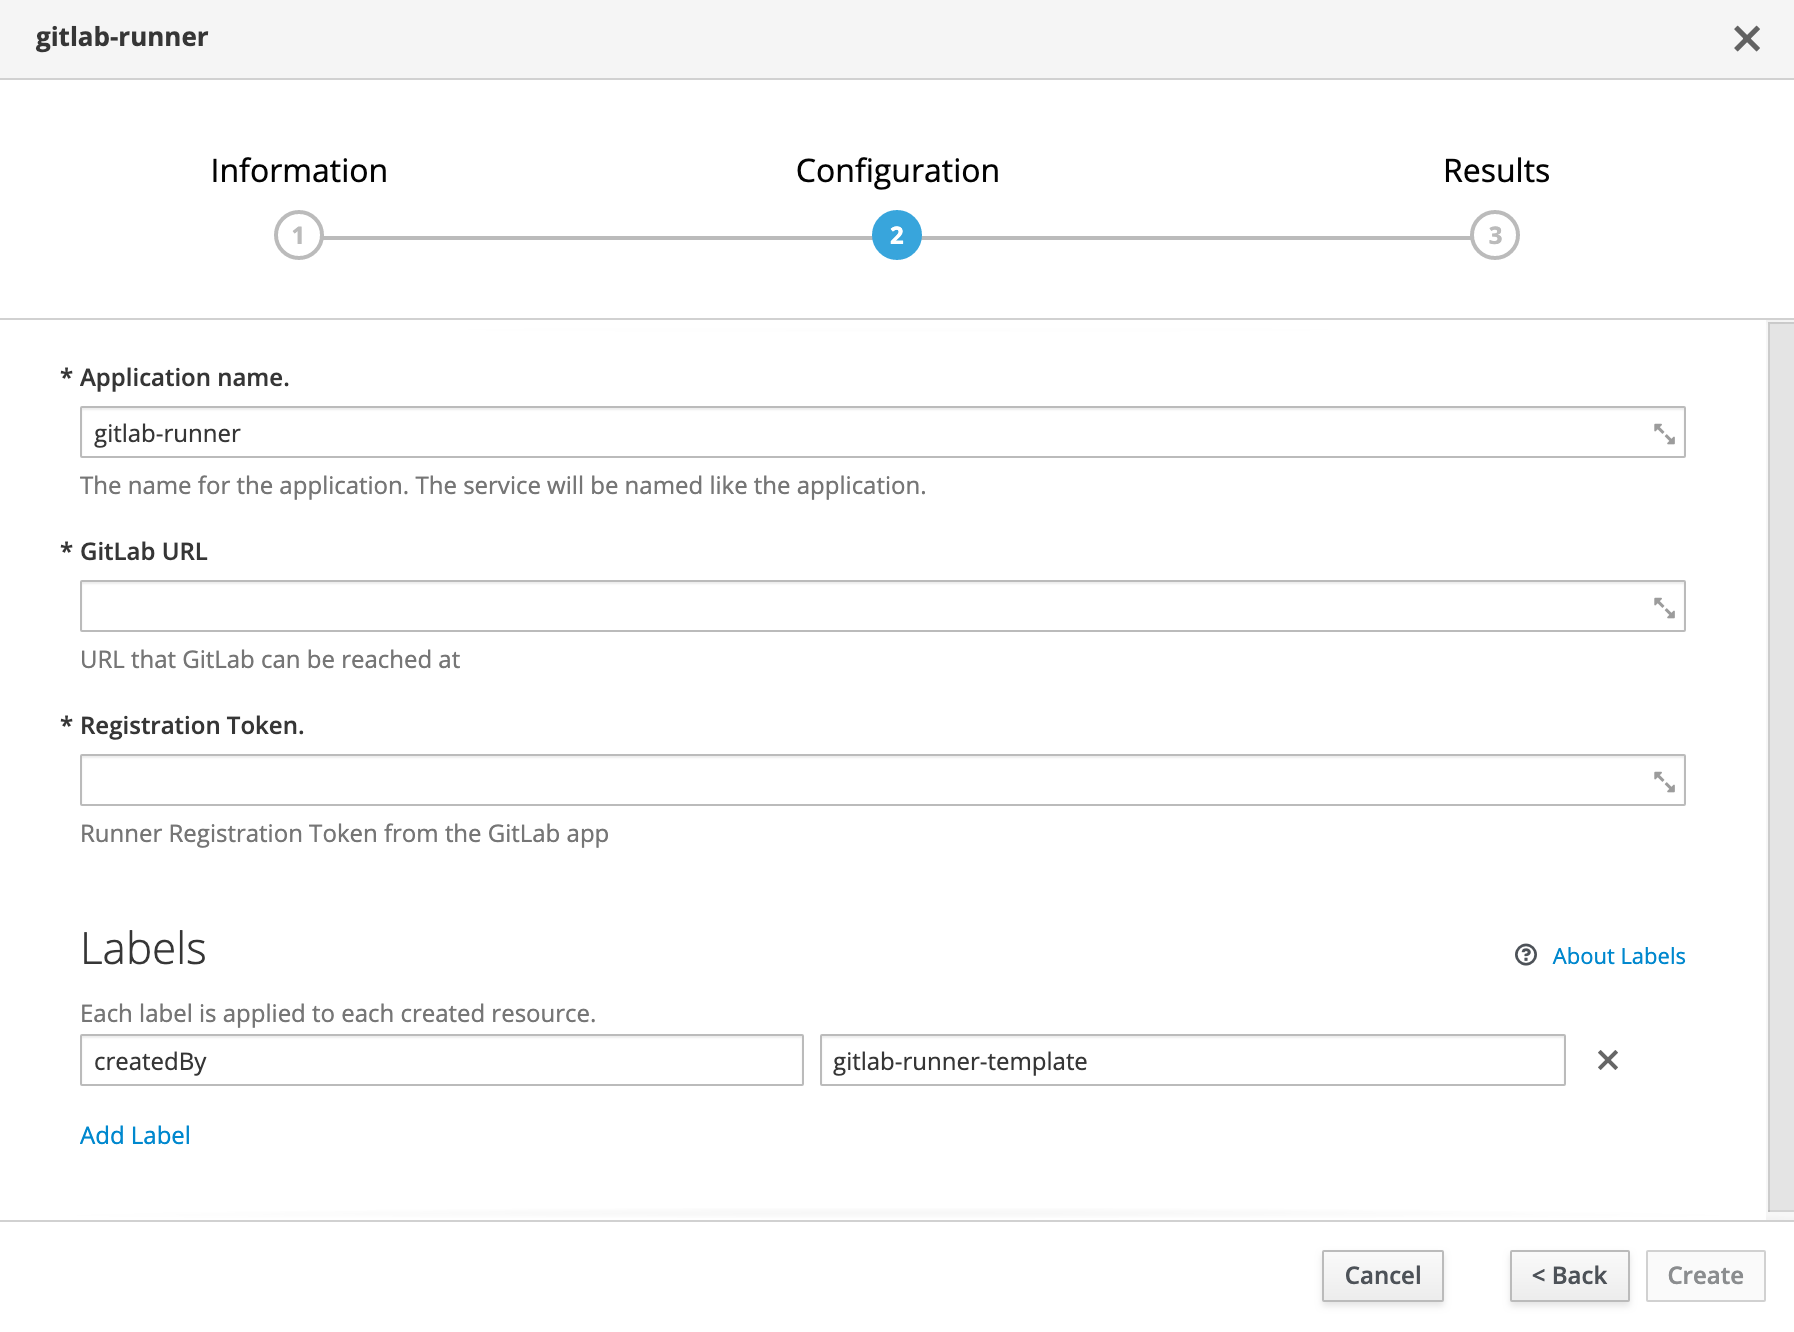
Everytime the container starts/restarts, etc will run this script. We start by checking to see if the config.toml is in one of the directories we created. If it's not, then we need to register the runner. So we start that process, we register the runner with a one-line registration method. The secret sauce is here --template-config /scripts/config.toml. Later in our openshift templates, we'll create a configmap with our basic config.toml, and then input our default values into it. The GitLab Runner will take this file, use it as a template and fill out the rest for us.
--executor kubernetes
This is so the runner operates as if it was in Kubernetes, and it sort-of is.
--access-level="not_protected" \
--docker-privileged=false \
--kubernetes-privileged=false
These lines tell the runner to run with the fewest permissions as possible. This prevents us from doing Docker in Docker - But because you're on OpenShift we don't need that.. You'll see why in an upcoming GitLabOps on OpenShift tutorial.
Importing and Building the Runner.
This is where you're Cluster Admin access will come in handy! Before we do this, Please take a look at the build-template.yml file. This is what we'll be using and importing. You shouldn't import anything into your cluster without looking into it and what it does. Without further-a-do lets import the template, run the following.
oc login <stuff>
oc project openshift
oc process -f ./build-template.yml | oc apply -f-
This will import the build object and image stream into your OpenShift cluster in the OpenShift Namespace. Why there? Because we want this image and template to be accessible by everyone, but not editable by anyone but a cluster admin. Now that this is done, let's go ahead and start the image build.
cd <Your_GitCloned_Directory>
oc start-build gitlab-runner --from-dir=. --follow
At this point, the build is going to start and stream it's output to the terminal. Let it run it can take up to 5 minutes. When it's done you should see a success or pushing image message. This means the image is in the repo and ready to be used.
The GitLab Runner Template.
This is the template that we want to import for all users of GitLab to provision and deploy their own runners. The idea is that users of OpenShift and GitLab can have a namespace on OpenShift and a project on GitLab, Then install a runner on OpenShift in their namespace pointed to their GitLab project. Then their runners don't affect anyone elses namespaces, you can monitor metrics per namespace, and limit resources on the namespace also. Plus, it's self-service, so win-win.
The template included is big, Please read it. However, i'm not going to quote it here because it's huge. This template when installed in the OpenShift namespace adds the GitLab-Runner to the self-service portal for namespaces. When executed this template installs:
- 2 Persistent Volume Claims
- 1 Deployment Config
- 1 ConfigMap
- 2 RoleBindings
- 1 Service Account
All of these elements are required to power the runner. Let's go ahead and install it now.
oc login <stuff>
oc project openshift
oc apply -f ./runner-template.yml -n openshift
If this succeeds in a few moments users will be able to see the GitLab-Runner object in their self-service portal.
The Final Touches, Deploying the Runner.